 English
 Español
 عربى
 Deutsch


How Does a Carving Hair Clipper Work?
 2026.10.10
 Industry News
Content
- 1 Main Parts of a Carving Hair Clipper
- 2 How the Cutting Action Actually Happens
- 3 Motor Types: What Drives the Blade
- 4 What a Carving Hair Clipper Is Used For
- 5 How to Use a Carving Hair Clipper Step by Step
- 6 Common Problems and How to Fix Them
- 7 Care and Maintenance for Longer Blade Life
- 8 How to Choose a Carving Hair Clipper
- 9 How Often to Touch Up Detailed Lines
- 10 Frequently Asked Questions About Carving Hair Clippers
- 11 Final Thoughts
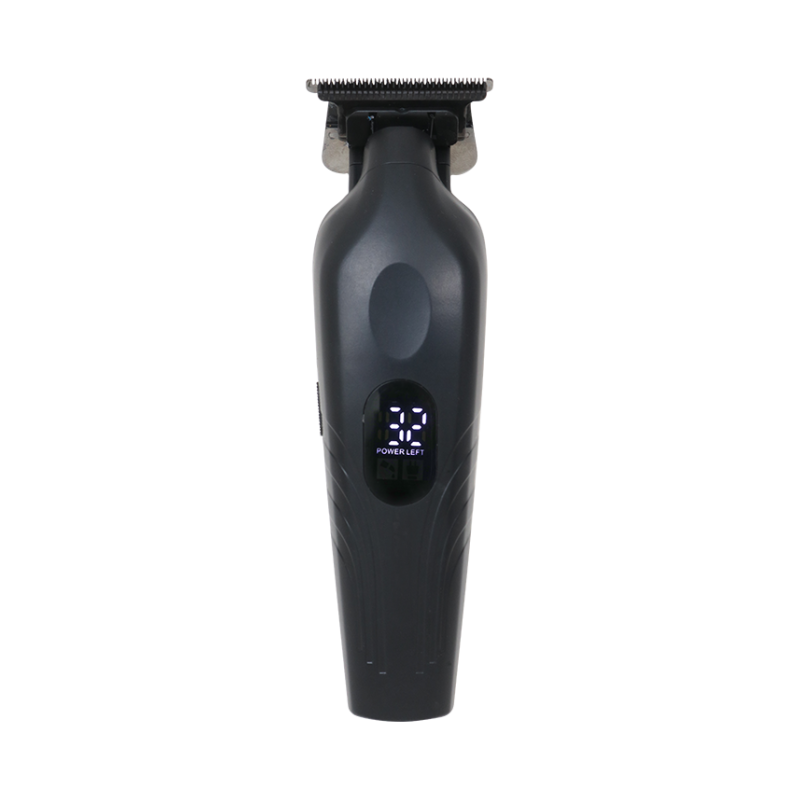
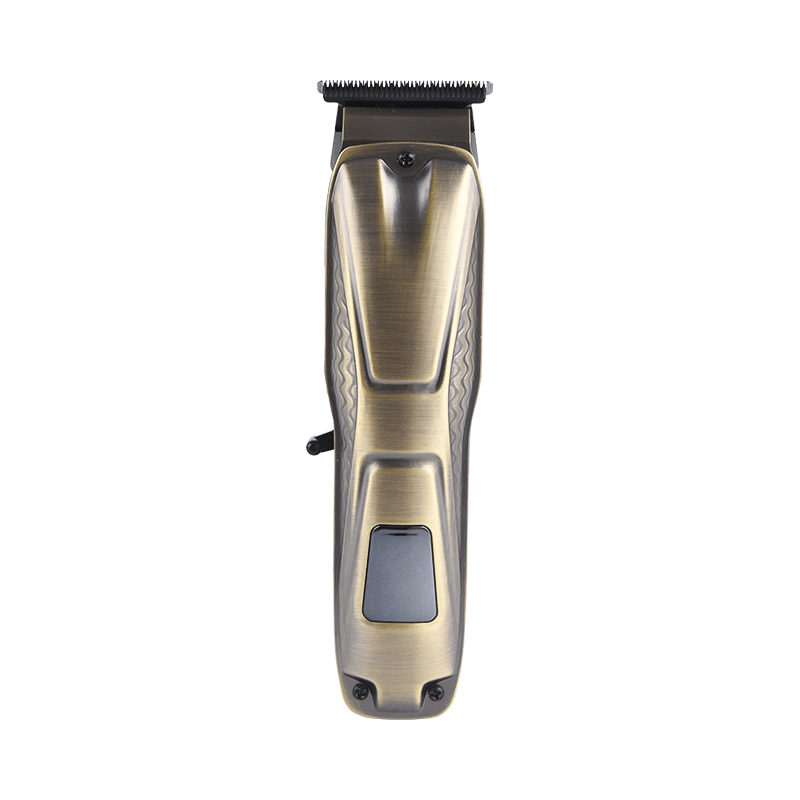
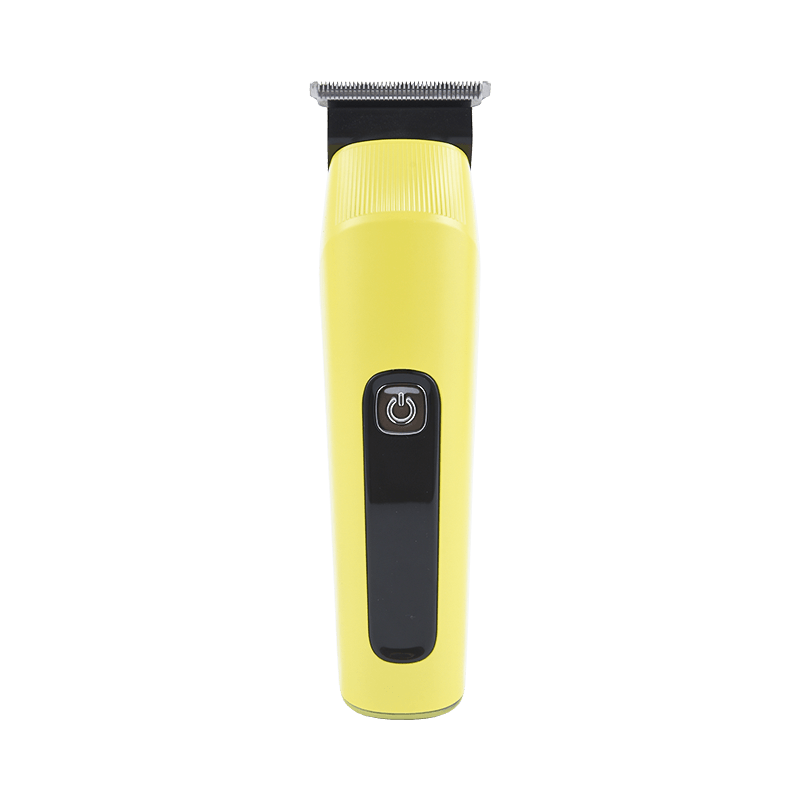
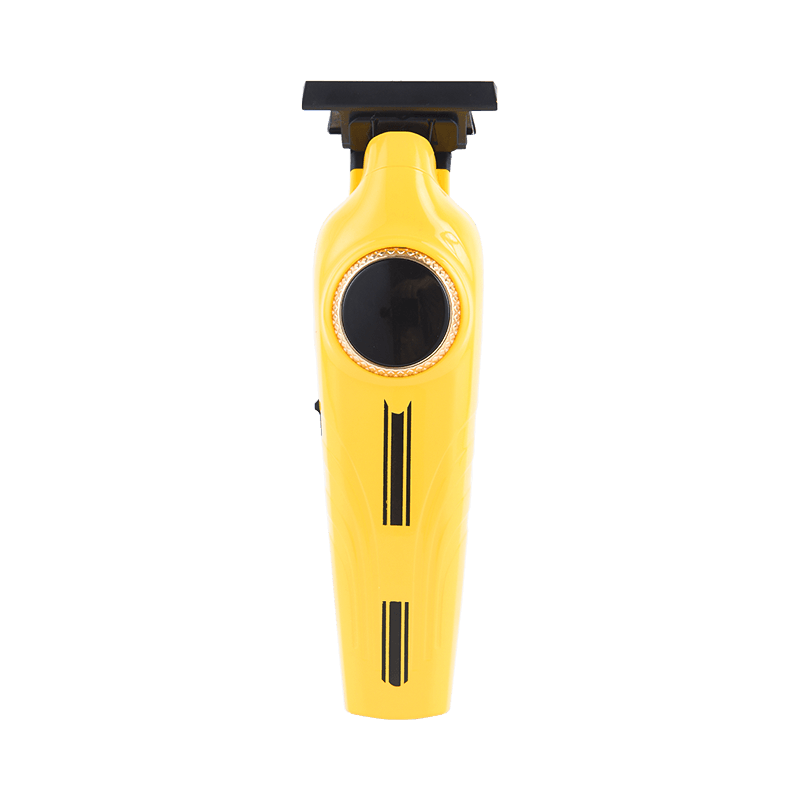
A carving hair clipper works by using a small electric motor to move one blade rapidly from side to side against a fixed blade, so every hair that enters the teeth is sheared off like it is cut by tiny scissors. What makes a carving model different from a standard clipper is its narrow, exposed blade, which has no guard attached and can be set very close to the skin. That design lets you outline, edge, and engrave fine lines and patterns into the hair.
A Carving Hair Clipper is therefore best understood as a precision detailing tool. It is used after the main cut is finished to sharpen hairlines, shape beards, and create designs that a full-size clipper cannot draw cleanly.
Main Parts of a Carving Hair Clipper
Every carving clipper is built from a few simple components that work together. Knowing each part helps you use the tool correctly and spot problems early.
| Part | What It Does |
| Motor | Creates the vibration or rotation that powers the moving blade |
| Moving blade (cutter) | Slides back and forth across the fixed blade to cut hair |
| Fixed blade (stationary blade) | Holds hair in position while the cutter shears it |
| Blade guide and drive arm | Transfers motor movement to the cutter |
| Housing and grip | Holds all parts and gives the user control |
| Power source | Rechargeable battery or power cord that supplies the motor |
Why the blade is exposed
Standard clippers use plastic guards to set the cutting length. A carving clipper usually works with the bare blade, so the teeth sit very close to the skin and can trace a thin line. This is also why careful, slow movement matters, because there is nothing between the blade and the skin.
How the Cutting Action Actually Happens
The cutting action is a shearing process. The fixed blade has small teeth that guide hairs into narrow gaps. The moving blade passes across those gaps many times per second, and each pass cuts any hair caught between the two edges. Hair is cut at the point where the blades overlap, so the closer the two blades are aligned, the shorter and cleaner the cut.
Why a narrow blade gives better detail
A narrow blade has a small contact area, so you can turn it around curves and corners without removing hair outside the line. Wide blades cover more area per stroke, which is faster for bulk cutting but too broad for fine lines.
What zero gapping means
Zero gapping is the practice of adjusting the moving blade so its teeth line up almost flush with the fixed blade teeth. This gives a sharper, closer outline. Many barbers do this on detailing tools to get crisp edges. Adjustment is done with the blade screws, and it should be done carefully and according to the instructions for your product, since a blade set too tight can scratch skin and a blade set too loose can pull hair.
Motor Types: What Drives the Blade
The motor decides how fast the blade moves and how well it holds speed through thicker hair. In general barbering equipment, three motor styles are widely described, and the comparison below reflects common industry descriptions rather than a figure from one specific product.
| Motor Type | How It Works | Best For |
| Magnetic | An electromagnet makes the blade vibrate at a high, steady speed | Light detailing, short hair, edging |
| Pivot | A pivoting arm balances speed and cutting force | All-round detailing and light cutting |
| Rotary | A spinning motor turns a cam that moves the blade, giving more torque | Thick, dense hair and heavier work |
For carving work, steady blade speed and low vibration matter more than raw power. A smooth motor helps the blade follow your hand without jumping, which keeps lines straight.
What a Carving Hair Clipper Is Used For
This tool is made for tasks that need accuracy. The most common uses are listed below.
- Outlining the hairline around the forehead, temples, and neck
- Creating a sharp part line or razor line on the side of the head
- Carving simple designs, lines, and geometric patterns into short hair
- Shaping and cleaning the edges of beards, mustaches, and sideburns
- Finishing a fade by cleaning stray hairs around the ears and neckline
- Touching up short, detailed areas on children and pets under careful supervision of an adult
Because the blade is exposed and close-cutting, it is not meant for removing large amounts of hair. Use a full-size clipper for the main cut first, then switch to the carving tool.
How to Use a Carving Hair Clipper Step by Step
Good technique matters more than anything else with a close-cutting tool. Follow this simple order for clean results.
- Finish the main haircut with a standard clipper and guard, then brush off loose hair.
- Check that the blade is clean, lightly oiled, and securely fitted before turning the tool on.
- Hold the clipper like a pen, with a light grip, and rest your little finger on the skin for stability.
- Place the corner or the edge of the blade at the start of your line and move slowly in short strokes.
- Use the flat of the blade for straight lines and the corner or tip for curves and small details.
- Stretch the skin gently with your free hand for a flatter, safer surface, especially around the ears and neck.
- Clean the outline from different angles, and use a mirror to check both sides are symmetrical.
- Finish by brushing away hair and applying a soothing aftershave or moisturizer if the skin feels sensitive.
Practice on a simple line first
Start with a straight hairline before attempting designs. Short, controlled strokes are far easier to correct than long, fast ones, and you can always remove more hair, but you cannot put it back.
Common Problems and How to Fix Them
Most issues with detailing clippers are caused by dirt, dryness, or blade alignment. The table below shows what to check.
| Problem | Likely Cause | Quick Fix |
| Pulling or snagging hair | Dry, dirty, or misaligned blades | Clean, oil, and check blade alignment |
| Uneven or patchy lines | Moving too fast or holding the blade at a changing angle | Slow down and keep a consistent angle |
| Skin irritation or redness | Blade too tight or pressed too hard | Loosen alignment slightly and use light pressure |
| Weak cutting power | Low battery or hair trapped in the blade | Recharge fully and brush out the blade |
| Loud buzzing or rattling | Loose screws or worn parts | Tighten screws and replace worn blades |
Care and Maintenance for Longer Blade Life
Because the blade is small and works at close range, even a little hair buildup can affect performance. A short routine after each use keeps the tool sharp and reliable.
- Brush hair away from the teeth and blade gap after every session
- Add a drop or two of clipper oil to the blade surface as described in your manual
- Wipe the blade clean and disinfect it if the tool is used on more than one person
- Recharge the battery fully before important detailing sessions
- Store the tool dry, with the blade cover on, away from moisture and drops
Always follow the care instructions provided for your exact model, since intervals and recommended oils can differ between products.
How to Choose a Carving Hair Clipper
When you compare detailing tools, look at the features that affect precision, comfort, and long-term use. A good Carving Hair Clipper should feel balanced in the hand, cut cleanly on the first pass, and keep a steady blade speed.
Features worth checking
- Blade design: a narrow, sharp blade with fine teeth gives cleaner outlines
- Blade adjustability: the ability to fine-tune the gap helps with zero gapping and close edges
- Motor stability: low vibration helps keep lines straight
- Grip and weight: a light, balanced body reduces fatigue during long detailing
- Power option: cordless models offer movement freedom, while corded models give constant power
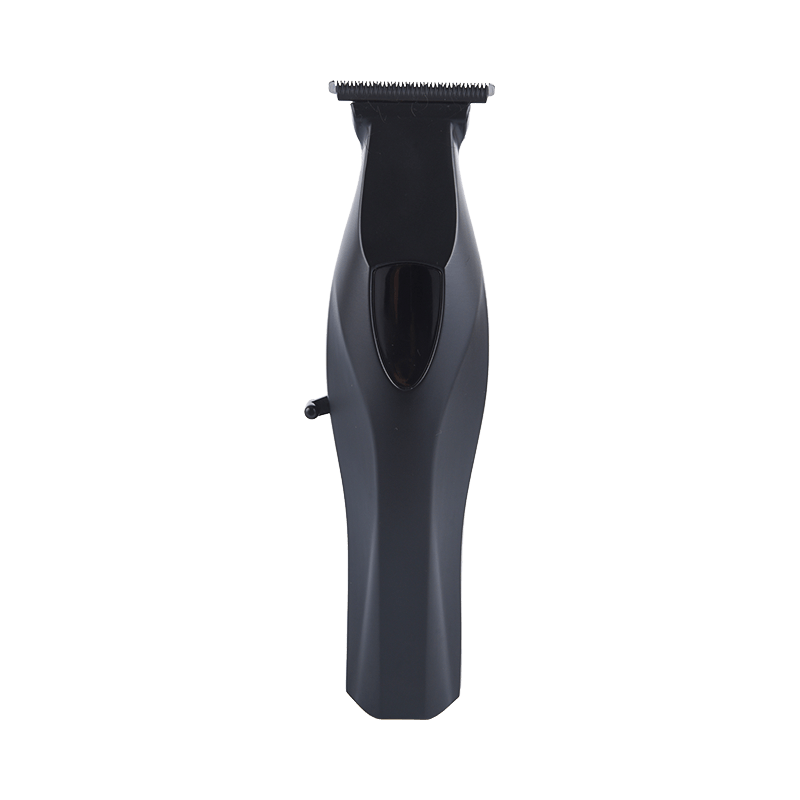
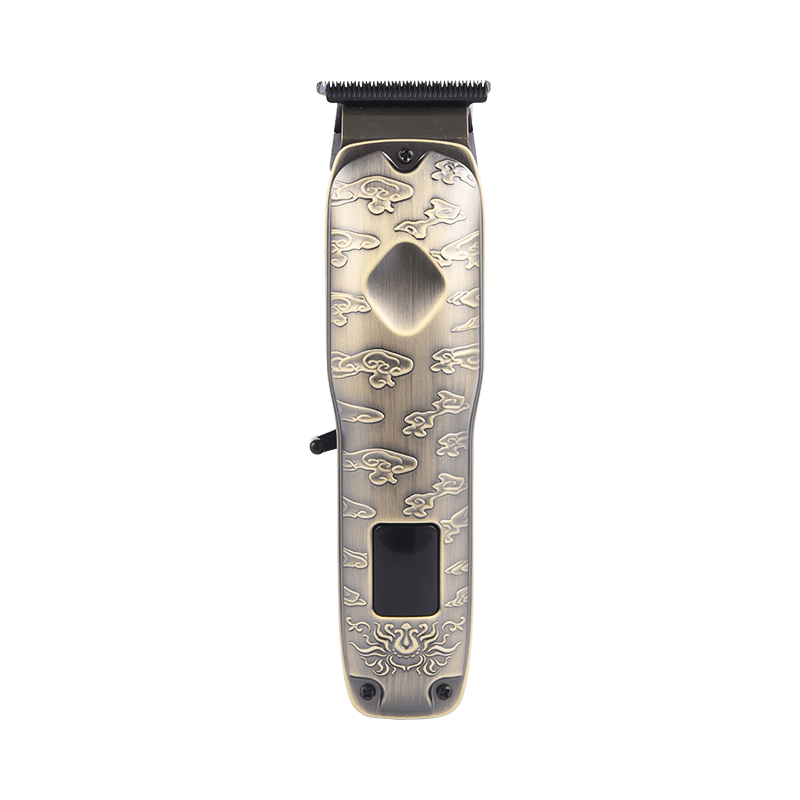
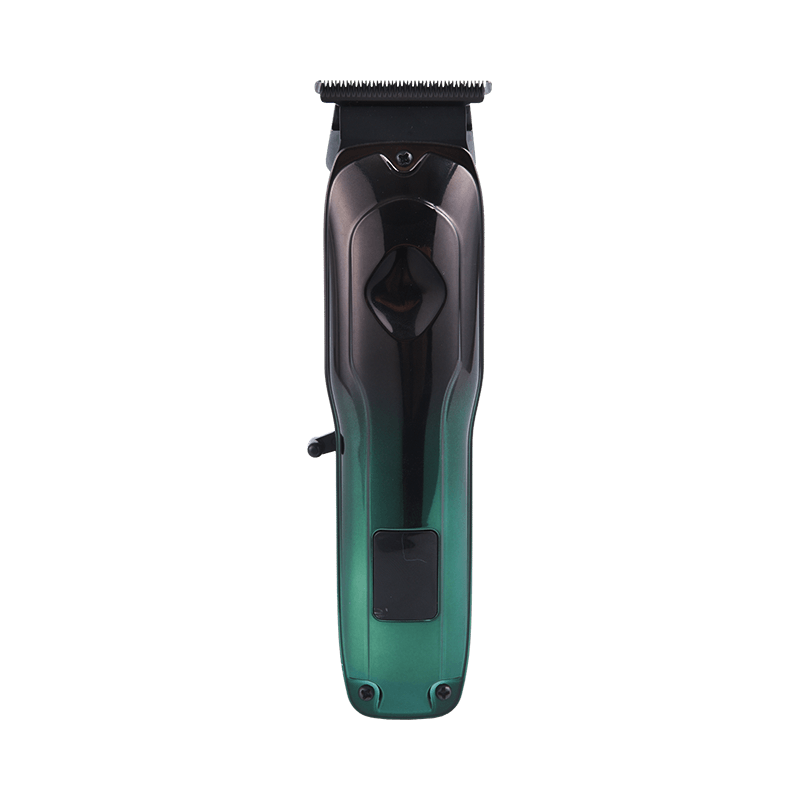
The Carving Hair Clipper from Jiaweidi is designed for users who want precise outlines, clean edges, and creative detailing. You can see the full details and specifications on the product page at jiaweidi.com.
How Often to Touch Up Detailed Lines
According to the American Academy of Dermatology Association, scalp hair typically grows about 1/2 inch (about 1.25 cm) per month. Sharp outlines and carved lines are made on very short hair, so growth becomes visible quickly. Many people refresh hairlines and neck edges every 1 to 2 weeks to keep them crisp. This is a practical guideline based on that growth rate, and it should be adjusted to your own hair growth and style.
Frequently Asked Questions About Carving Hair Clippers
Is a carving hair clipper the same as a trimmer?
They are closely related. Both use a narrow blade for detail work, and the name often depends on the brand or region. A carving model usually puts more emphasis on close, precise cutting for outlines and designs.
Can I use it for a full haircut?
It is not designed for that. The narrow blade covers a small area and has no guard, so use a standard clipper for the main cut and the carving tool only for finishing and detail.
Does it work on wet hair?
Dry hair gives the best results. Wet hair clumps and sticks to the blade, which makes lines uneven. Always check the user manual for your model before using it near water.
How do I avoid cutting too deep?
Move slowly, keep the blade angle steady, and use light pressure. Start with a small test line and check it in the mirror before continuing.
Final Thoughts
A carving hair clipper works through a simple but precise principle: a motor moves a narrow blade against a fixed blade to shear hair cleanly and closely. When you understand the parts, the cutting action, and the right technique, you can create sharp hairlines, clean beard edges, and detailed designs with confidence. With regular cleaning, careful use, and a dependable Carving Hair Clipper, you can keep every outline looking neat and professional.
Source note: the hair growth rate figure is from the American Academy of Dermatology Association (aad.org). Motor type descriptions and zero gapping practice reflect common barbering industry knowledge and are not data from a single study. Touch-up intervals are general guidance and should be adjusted to individual needs.
- ADD: Room 301, Building 5, Xiaocao'e (Hangzhou Bay) Electromechanical Industrial Park, Yuyao City
- Tel:+86 13805803689 / +86 13805803356
- Email: 269354157@qq.com
Copyright Ningbo Jiaweidi Electric Appliance Co., Ltd. All Rights Reserved.
OEM/ODM personal electric hair push manufacturer
Custom Electric Push Shear Carving Push Factory
